Device Installation & Connection
Follow the step-by-step guide to set up your Android device for Mobihub.
1. Download and install the app
Download the Mobihub APK file or install from Google Play Store:
Allow installation from unknown sources
If you download the APK file, allow installation of apps from unknown sources in your device settings.
Settings → Security → Unknown sourcesInstall and launch the app
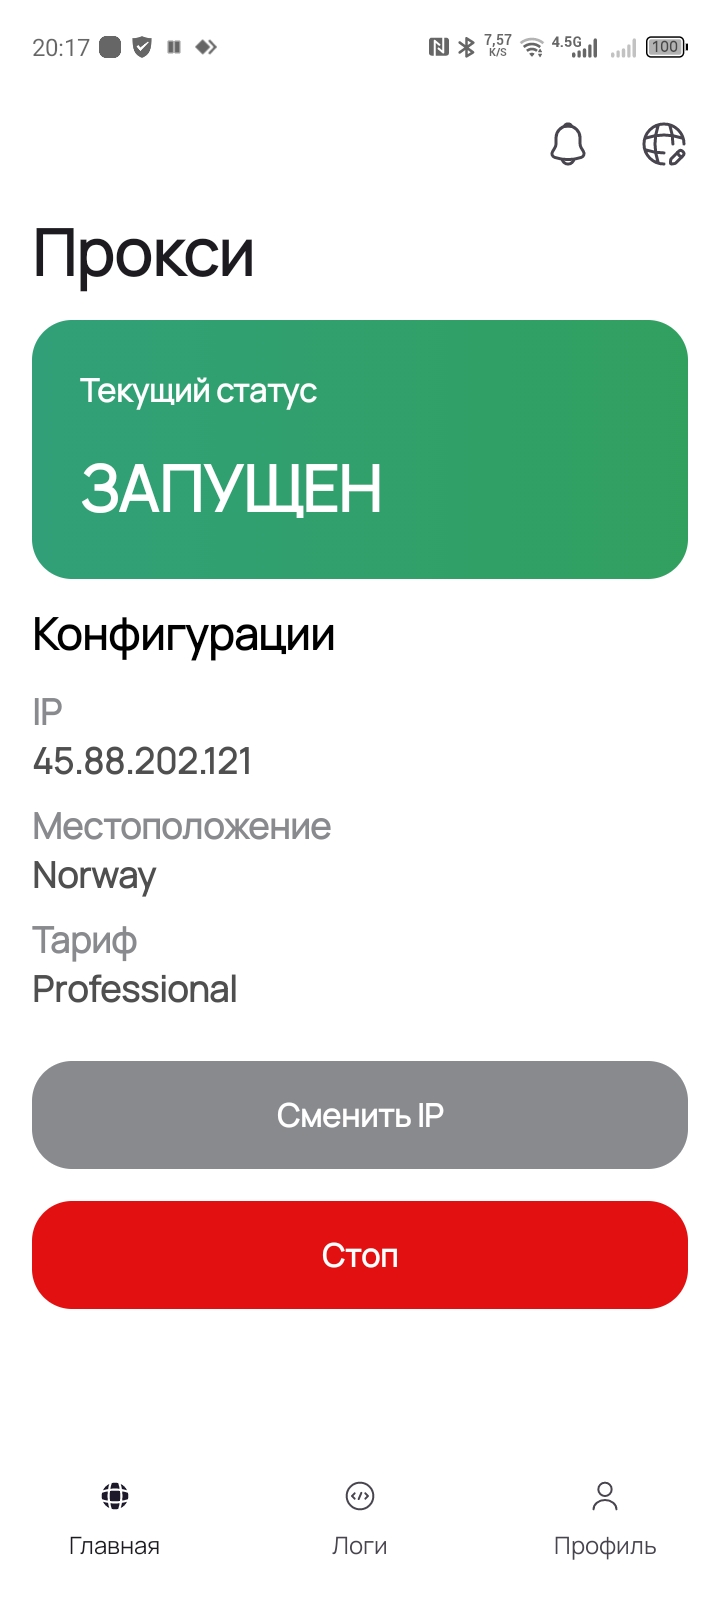
After installation, open the app and log in using your account credentials. You can also generate one-time codes in your personal account. The device will then automatically appear in your Mobihub profile.
2. Basic Android settings
For proper operation, you need to adjust some basic Android system settings.
1. Disable power saving for Mobihub
Settings → Apps → Mobihub → Battery → Unrestricted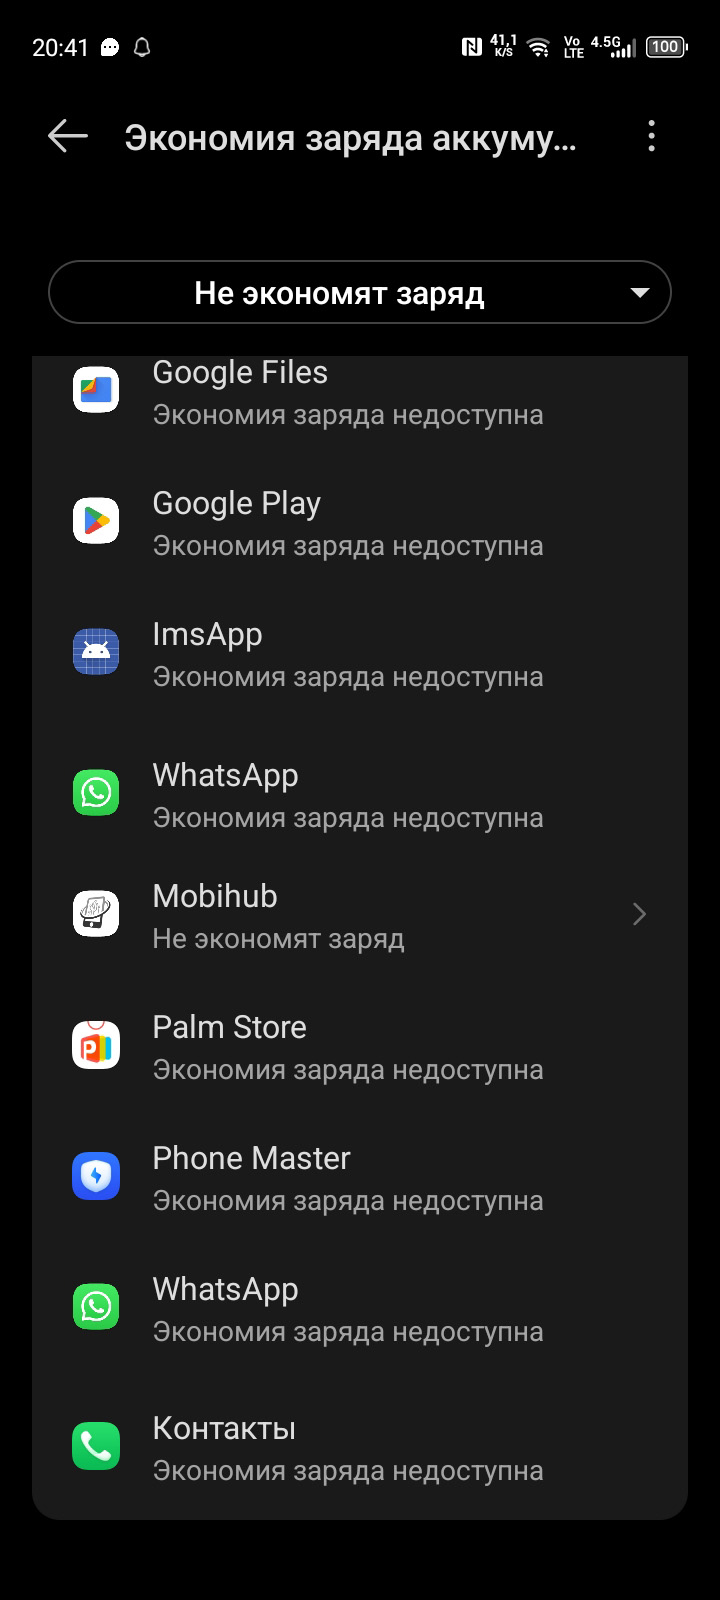
2. Disable battery saver
Settings → Battery → Battery Saver → Turn off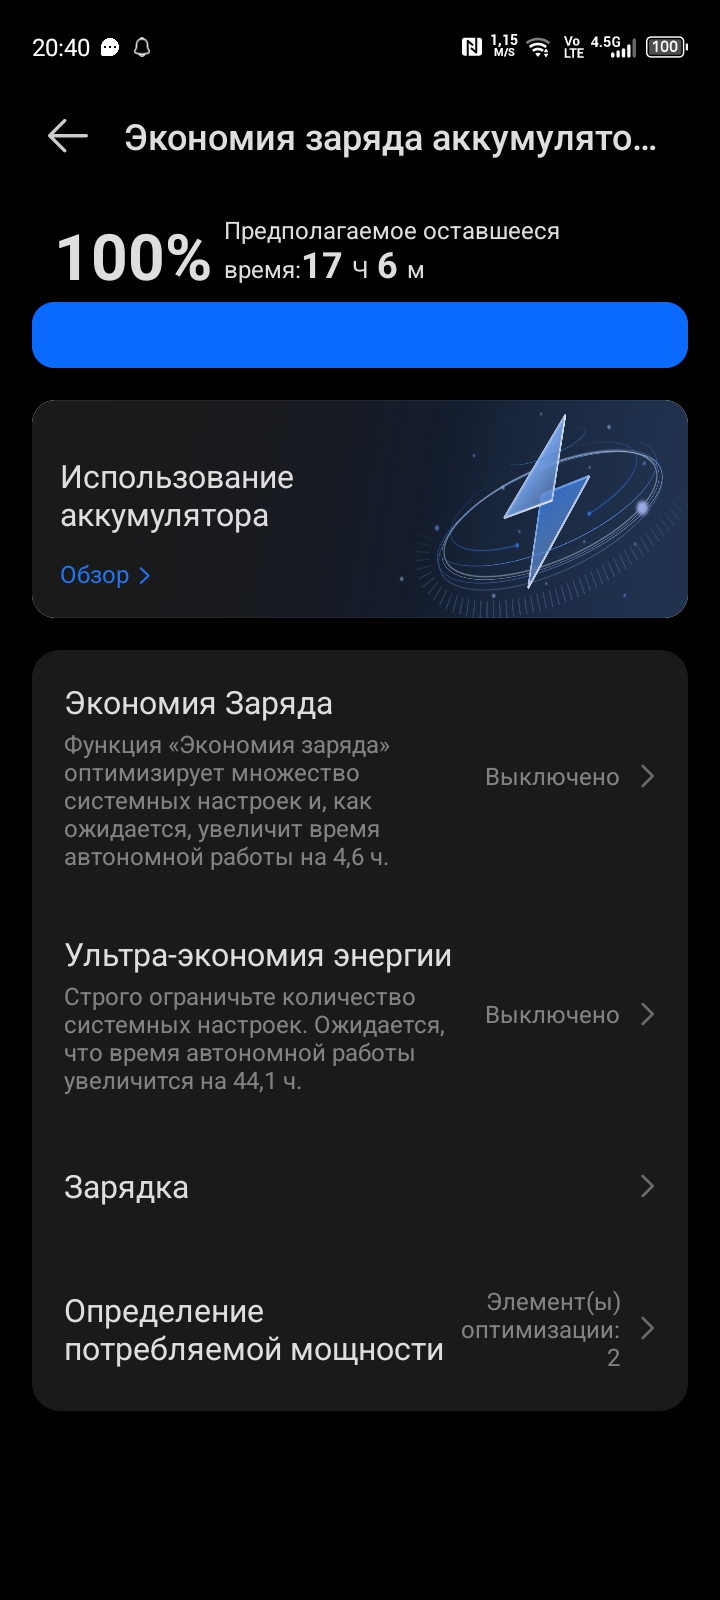
3. Allow background activity
Settings → Apps → Mobihub → Background activity → Allow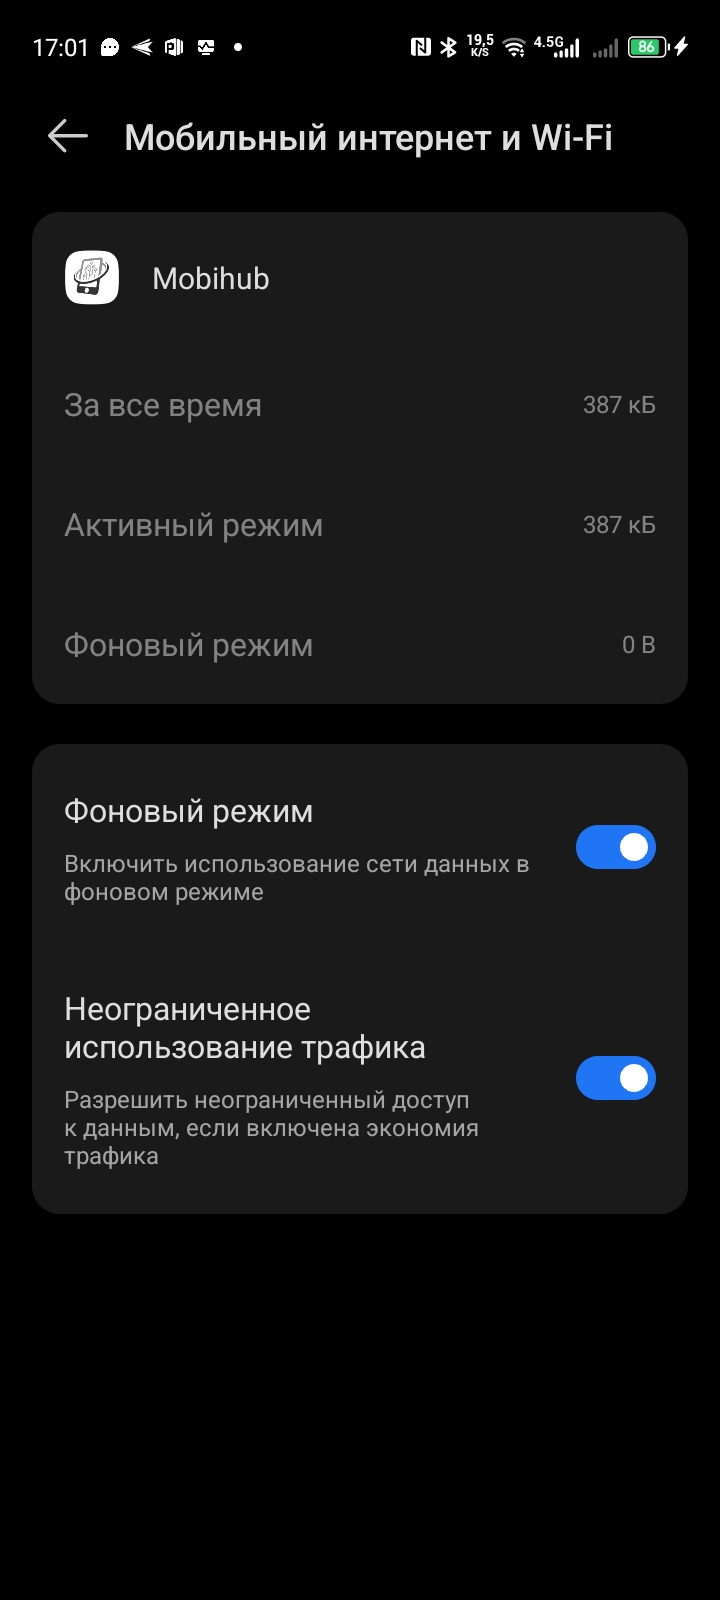
3. Activate Voice Assistant for Mobihub
To be able to remotely change the IP address of your proxy, you need to configure the Android voice assistant.
1. Allow permissions for Voice Assistant
Settings → Apps → Voice Assistant → Permissions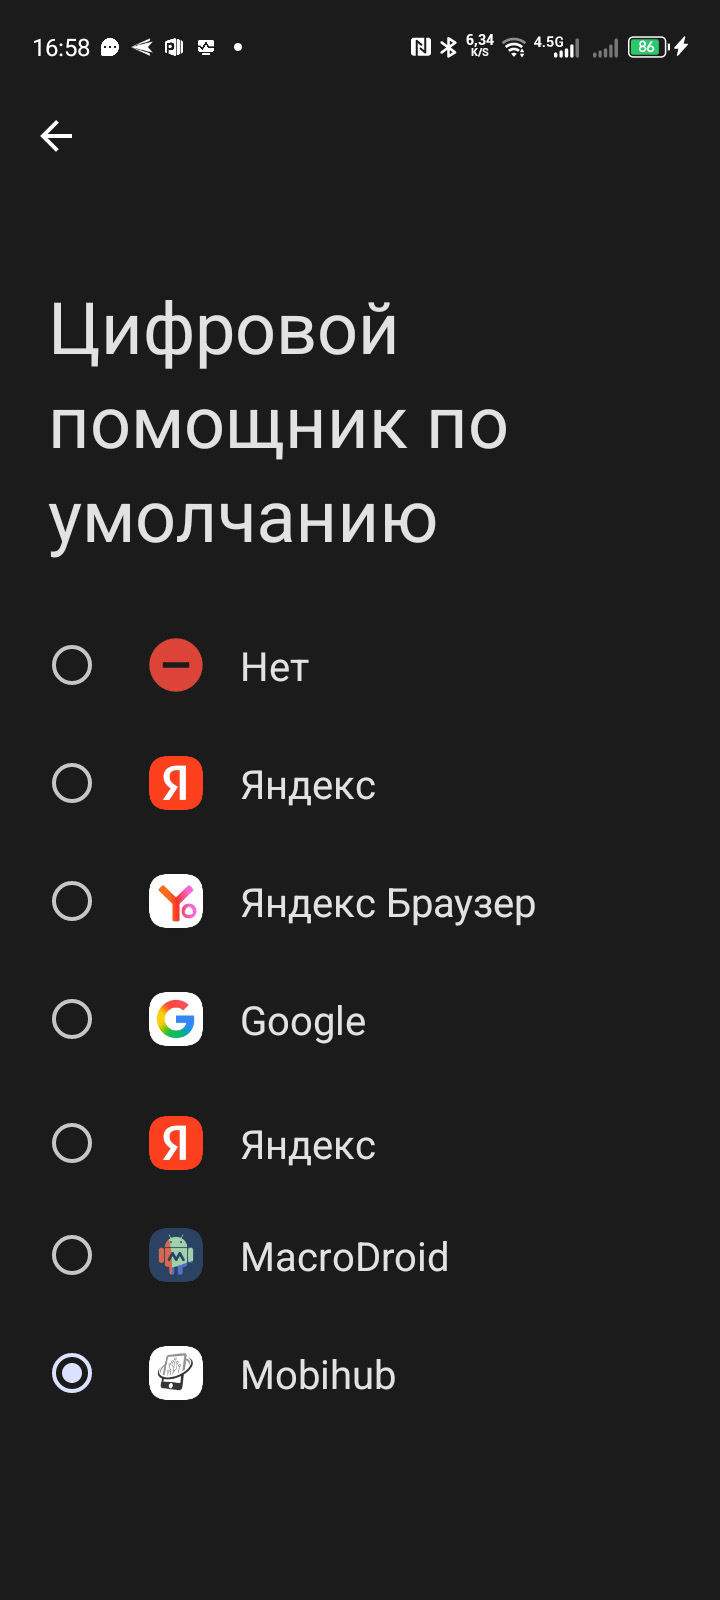
4. Developer options and Smart Relay
To use the Smart Relay feature (parallel use of Wi-Fi/LAN and mobile data), perform these additional settings.
Enable Developer mode
Tap “Build number” 7 times in the phone settings.
Settings → About phone → Build number (tap 7 times)
Enable “Mobile data always on”
In developer options, enable “Mobile data always on”.
Settings → Developer options → Mobile data always on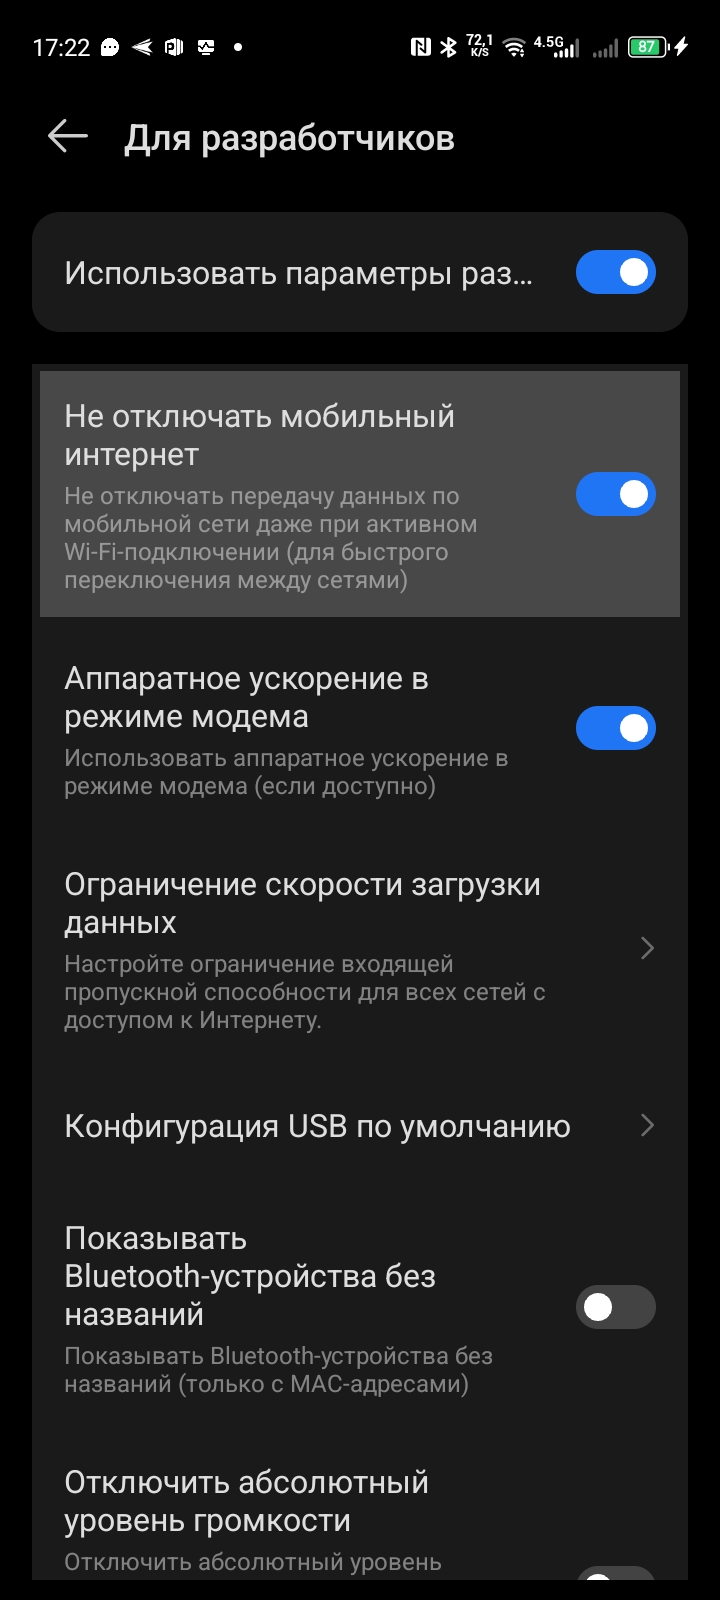
Connect Wi‑Fi or LAN
Connect to a Wi‑Fi network or use a LAN adapter (OTG + Ethernet).
Insert SIM and enable mobile data
Make sure the SIM card is active and mobile data is turned on.
✅ Done — the service is fully operational! Smart Relay is activated. Further configuration is done in your personal account.